Easy methods to Construct an Ecommerce Web site Utilizing WordPress
Disclosure: This content is endorsed by the reader. So if you click on some of our links we may receive a commission.
What would you do with an additional $ 39,000 per month in your bank?
If your plan is to build an ecommerce website, you can expect to make this MASSIVE amount if you get it right.
Of course, there are ecommerce sellers who couldn't make that much money, but with the right ecommerce strategies and best practices, this could become your reality.
However, before you can start earning, you must first own and set up an ecommerce website.
Read on as I show you a step-by-step guide on how to build an ecommerce website with WordPress.
Your two-minute cheat sheet
Do you want to know how to get in a nutshell an ecommerce website? I have you.
First, you need to choose a domain name and a web hosting provider that will provide you with the domain name you have chosen for free.
Since your web hosting provider will dictate the loading speed, availability, and other features of your WordPress store, I strongly recommend going with Bluehost.
This is hands down one of the best web hosting providers that is not only cheap and reliable, but also offers a ton of freebies like a free domain name. Choose the basic plan and register your domain name before closing your deal.
When you're done setting up your Bluehost account, install WordPress. Another reason I recommend Bluehost is that it can install WordPress on your behalf. All you have to do is click a few buttons and your WordPress site is ready to go.
At this point, you have a standard WordPress website. However, to turn it into an online store, you need to install an ecommerce plugin.
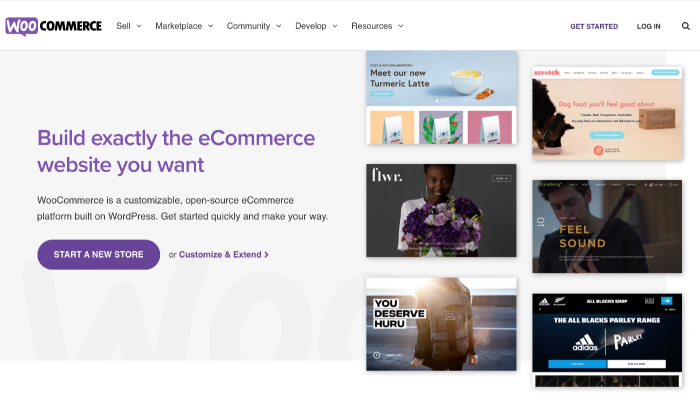
I went with WooCommerce, but you can go for other options that better suit your needs. Next, you need to set up your business. This includes tasks like creating business pages, setting up a locale, understanding sales tax, and choosing a payment method.
Once your business is ready, add your products or services. It wouldn't be an online shop if you didn't have anything on offer, would it?
Finally, all you have to do is choose a fantastic theme for your WordPress ecommerce store and install additional plugins that will allow you to expand the functionality of your online store. This depends on your needs and preferences so you can choose what you want.
Personally, I like ThemeForest for themes. You can also check out the WordPress plugins directory to install extensions like Yoast SEO, Jetpack, and Contact Form 7. Trust me it can work wonders when you top up your shop!
That was all for your cheat sheet. Now we come to setting up an e-commerce shop on WordPress.
Step 1: get a domain name and web hosting provider
Whether you want to start an online store or any other type of website, you need a domain and web hosting service.
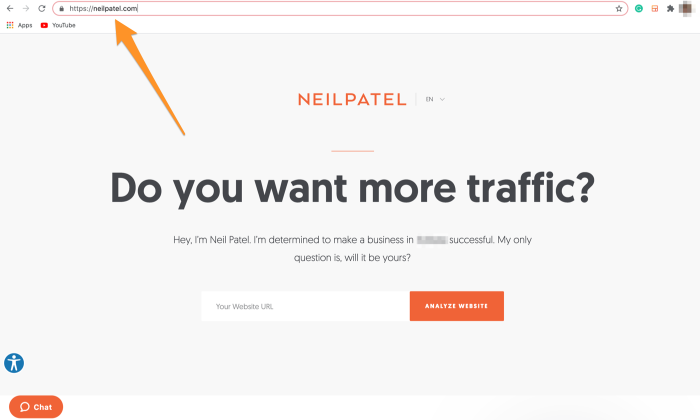
Your domain name is the unique address of your business on the web. For example, my website's domain name is NeilPatel.com.
Web hosting, on the other hand, is like having a remote computer where your website is stored and then served every time you visit.
There are several excellent WordPress hosting providers out there, but I picked Bluehost simply because it's reliable, offers fast loading speeds, and includes a free domain name in its already cheap subscriptions.
Here's what you need to do:
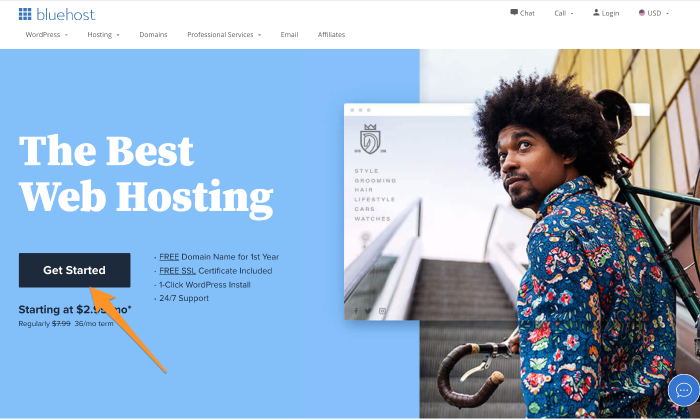
Choose your Bluehost subscription plan
Go to Bluehost and click the huge one Getting started Button.
From there, you will be taken to a page that lists four hosting plan options:
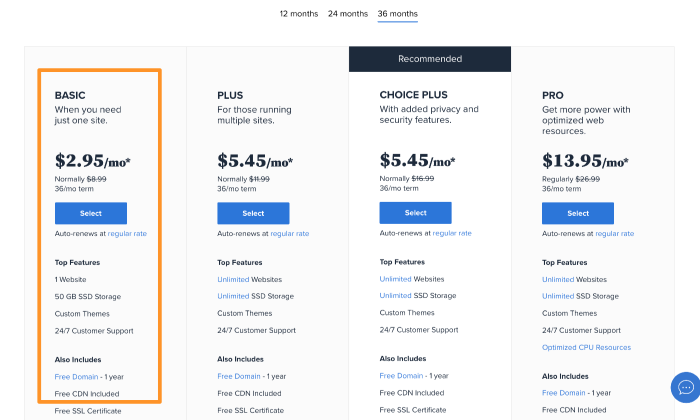
Since this is your first time starting an ecommerce website, I recommend choosing the basic plan, which costs only $ 2.75 per month and includes a free domain (for one year).
Choose your domain name
Next, you need to choose a domain name from your new online store.
Click on Create a new domainand enter your potential domain name. Once you do, Bluehost will automatically display a list of available or similar domain extensions.
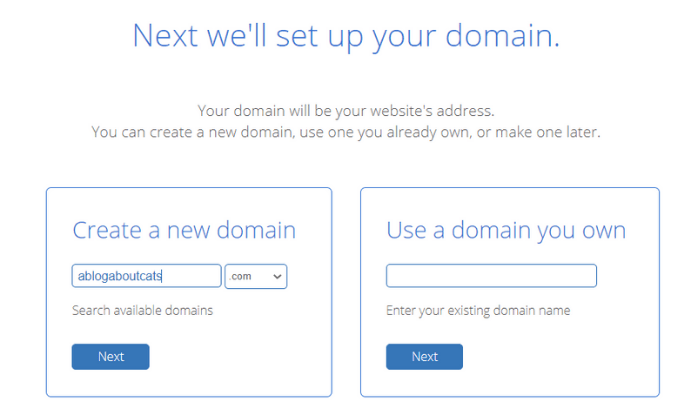
My advice would be to go for a .com extension as it looks more professional and can help you gain extra brownie points in the eyes of your visitor.
Alternative possibility:
If you already have a registered domain with a third-party domain registrar, you can continue to use it instead of creating a new one.
Click on Use a domain you own Option and select Next. Then follow the instructions to transfer your domain to Bluehost from anywhere.
Enter your account details and close the deal
Enter your personal information to create your Bluehost account. You'll also need to confirm your planning details, select relevant add-ons (these cost extra), and then close the deal.
At this stage, you will be asked to select the number of years you would like to sign up for Bluehost. While the minimum commitment is one year, I recommend choosing the three year option as it will give you the best price for your money.
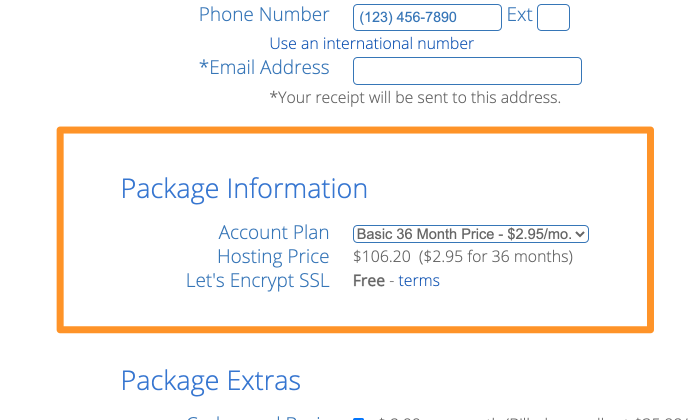
Three years may seem like a long commitment, but given the excellent service Bluehost provides, it is a lot. Also, you'd want your ecommerce store to be up and running long enough to make a lot of money, right? Either way, Bluehost offers a 30-day money-back guarantee. So you can always get a refund if you change your mind.
Finally, all you have to do is pay your subscription fee. You can either pay by credit card or look for other payment options.
At this point, you now have a domain name and hosting plan to go with it.
Step 2: Install WordPress on Bluehost
This is the start of your WordPress journey where you install WordPress on your hosting account. Since it's absolutely free, you don't have to pay any installation fees.
Plus, Bluehost will do the installation for you!
After logging in to Bluehost, you will receive a confirmation email with your login information. Use this information to sign in to Bluehost. The hosting service will then guide you through the WordPress installation process.
You can also go to your Bluehost dashboard to install WordPress. Click on My sites, followed by Create site. The installation process begins immediately.
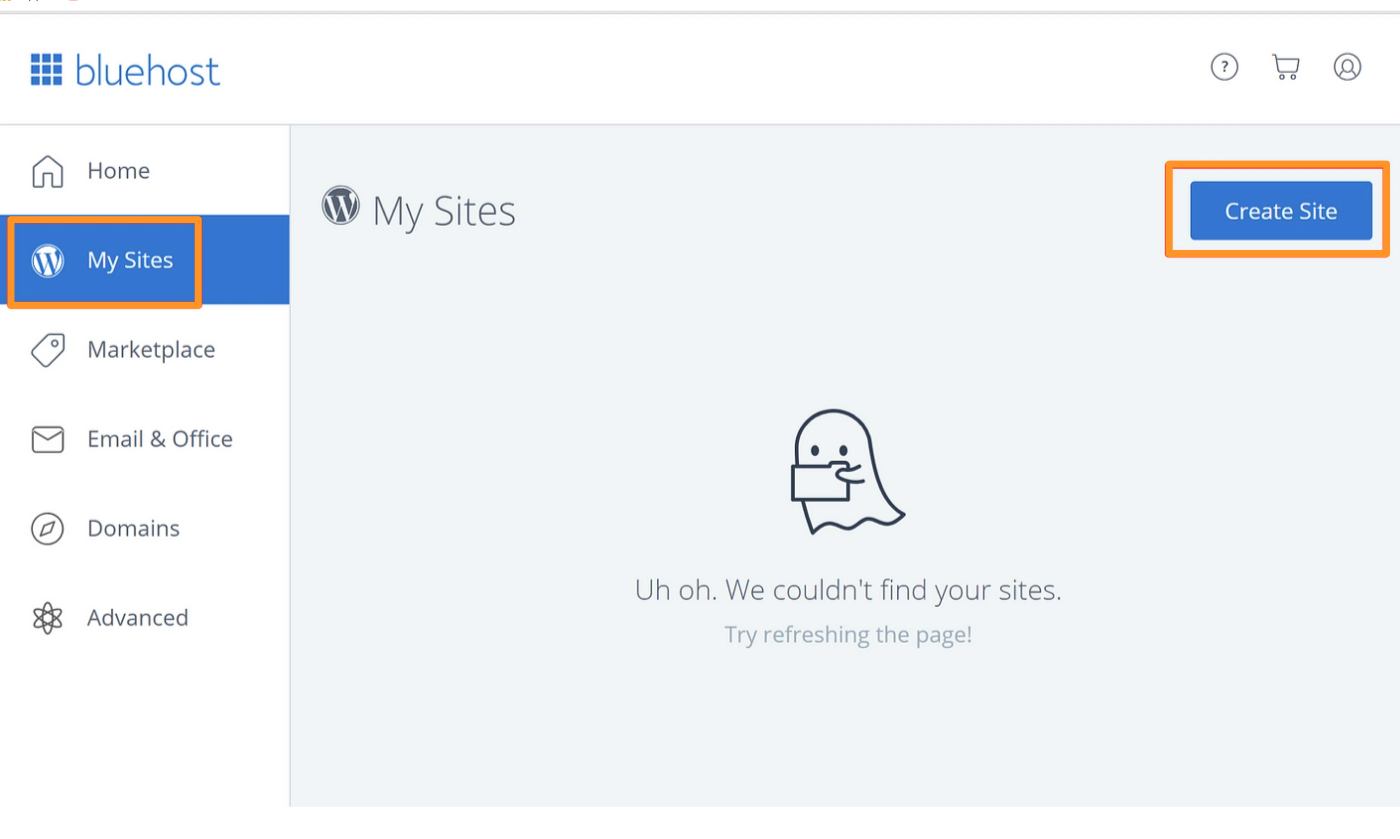
When the installation is complete, enter your website name followed by your username and password.
With an empty WordPress website ready, now is the time to turn it into a fully functional ecommerce store.
Step 3: choose an ecommerce plugin
A key difference between a WordPress ecommerce website and a standard WordPress website is that you can sell products directly from the website.
Since there are no native WordPress ecommerce features, you'll need to install an ecommerce plugin to extend this functionality to your website.
My favorite? WooCommerce.
How to install the WooCommerce plugin:
# 1 Navigate to your WordPress dashboard and click Plugins, followed by Add new.
# 2 Enter "WooCommerce" in the search box at the top right of your screen.
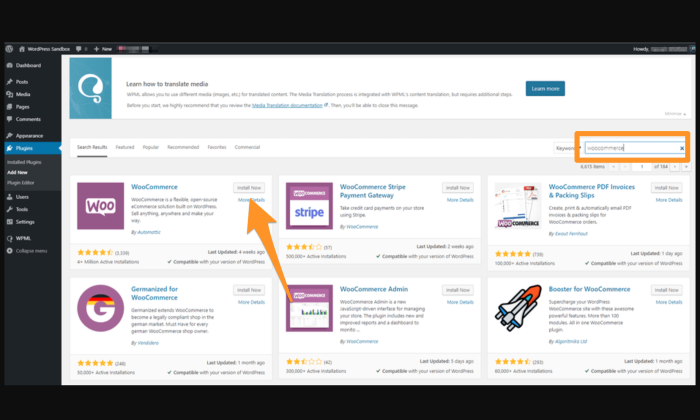
# 3 Click on that Install now Button next to the plugin. After a few seconds this button will turn blue and read activate. Click on it.
You will now see the WooCommerce startup / setup wizard on screen, which will guide you through the rest of the rest of the setup process. As you would expect, the whole thing is super easy and barely takes a few minutes.
Other ecommerce plugin options:
While WooCommerce is my go-to stop, you can opt for other plugins as well. Here are two more plugins you can consider:
WP e-commerce
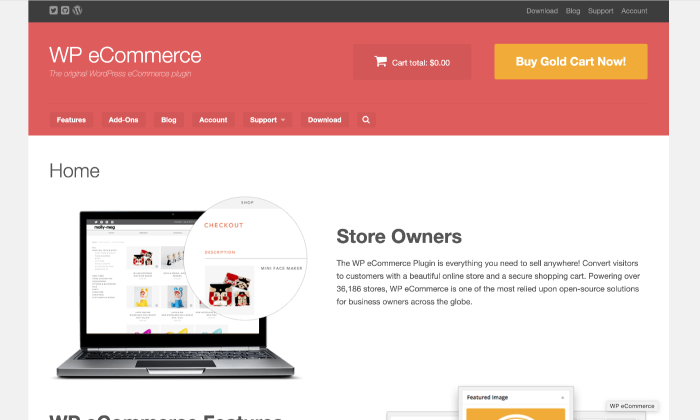
While WooCommerce isn't fully functional, many people consider WP eCommerce a robust choice for building an online store with WordPress. Features include product pages, shopping cart, checkout, data reporting capabilities, and inventory management.
While WP eCommerce is free, you can opt for paid extensions to add functionality. You can purchase premium payment gateways like Stripe and Authorize.net.
Easy digital downloads
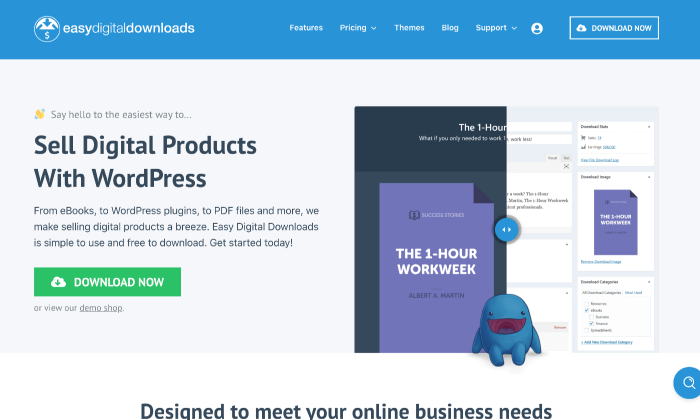
Easy Digital Downloads is specially designed to help you sell digital products. You can use it to create discount codes, use full tracking and data reporting on downloads, sales and other statistics, and set restrictions on downloads. So, if you have no plans to sell physical products, this plugin might be a great choice for you.
You can also add new features to your storefront with extensions, as well as payment processes such as PayPal. This plug-in is also free and offers expansion options for a fee in the event that you want to add further functions to your online shop.
Step 4: setting up WooCommerce
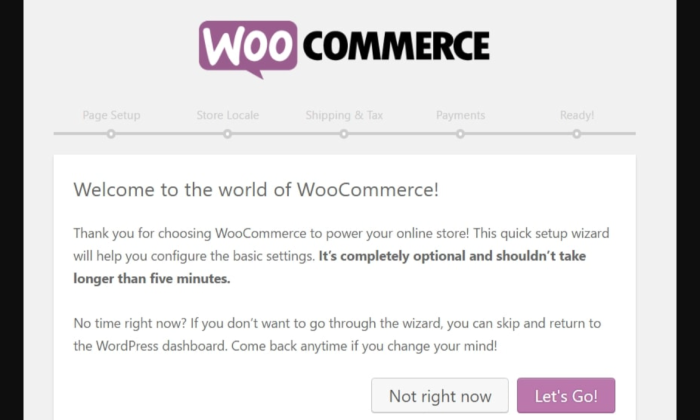
This step includes several tasks where you will create key business pages, set up a locale, understand the sales tax implications, and choose a payment method.
Let's discuss them in more detail below:
Create important memory pages
Online stores can be very specific, which is why you also need specific store pages in order for them to function properly. This is exactly why the first step in the WooCommerce wizard is to create these pages.
- The business All of your products will be displayed on this page.
- The dare On this page, your customers can customize their order before proceeding to checkout.
- The Check On this page, your customers can choose the shipping method and make the final payment.
- The My account The page is like a profile page for registered customers, showing them the order history, contact information and other details.
All you have to do is follow the instructions and WooCommerce will set up these pages for you.
Set up your locale
The locale is another important part of your online store setup. Basically, it tells you where in the world your shop is located. Even online stores need to set up this information. Your locale defines your country of origin, your operating language, and your preferred currency and units of measure.
Choose Continue When you're done, set up your locale.
Going through the sales tax module of WooCommerce
In most cases you will collect a sales tax for which you will need to select the Main Tax check box.
Make sure you go through the entire module and understand the tax rates based on your location.
Choose Continue when done.
Choose a payment method
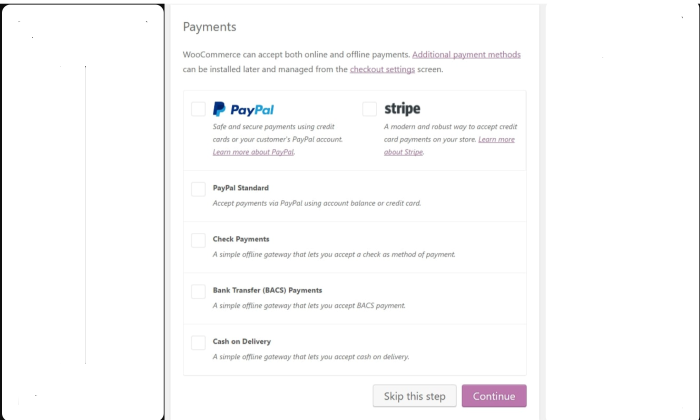
WooCommerce accepts both online and offline payments. I recommend PayPal, but you can also choose between stripe, cash on delivery and transfer payments, among other things.
Choose Continue when done.
Step 5: adding your product or service for sale
To officially open your shop, you need products, services or downloads – whatever you sell – in your database.
Go to your dashboard and click Products followed by add product.
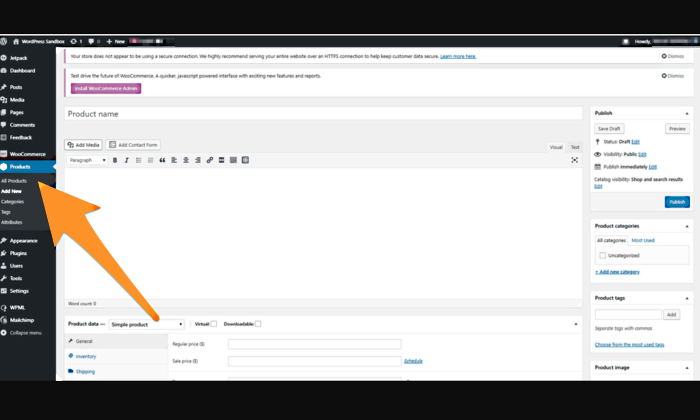
A classic editing screen for WordPress content is then displayed, which contains fields for product name, product description, product data area, brief description, product categories and tags, product image and product gallery.
WooCommerce shows you handy tooltips that help you explain the purpose of each field so you know exactly what it's all for. Click on that Publish Button to add your products.
Once you've added goods to your database the end result should look something like this:
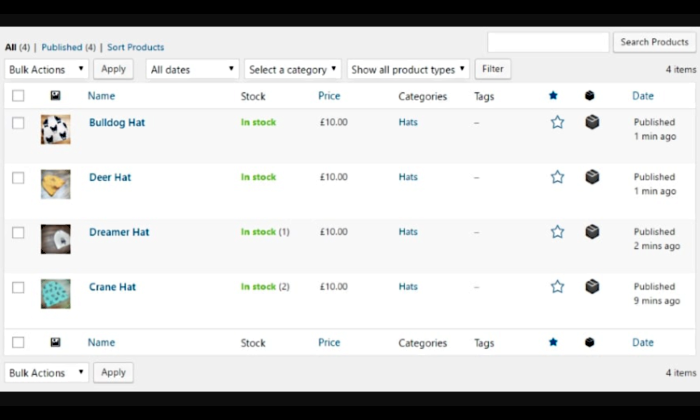
Voila! You have now added products (or whatever you're selling) to your WordPress website.
Step 6: Choose a theme for your WordPress online store
Your topic determines how your web content will be displayed to your visitors. The nice thing about WordPress is that you can change and customize your themes at any time. This gives you a completely unique design that sets your shop apart from your competitors.
Beware: The customization option is only suitable for a Coding Pro. If you are not, it is better to choose a ready-made topic that is most similar to your vision.
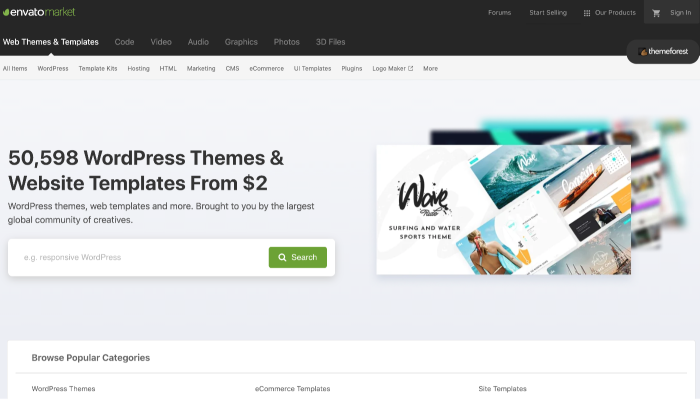
You can visit a third-party website like ThemeForest to get started. There are hundreds of thousands of topics so you will never run out of options.
Install a theme from the official WordPress.org directory
# 1 Go to your WordPress dashboard and click Look and then subjects.
# 2 Click on that Add new Button for browsing the topic selection. You can also show off some to test what your store looks like.
# 3 Click on that To install Button for the topic you like. After a few seconds the button will appear activate. Select it and the theme is yours.
Install a premium theme
# 1 Download the zip file of your chosen topic.
# 2 Log into your WordPress dashboard and go to Look, and then subjects.
# 3 Click on that Add new Option that will take you to the WordPress theme dashboard.
# 4 Choose Upload topic Possibility. When prompted, select the zip file from your computer.
After a success message, you will see a link to activate your topic.
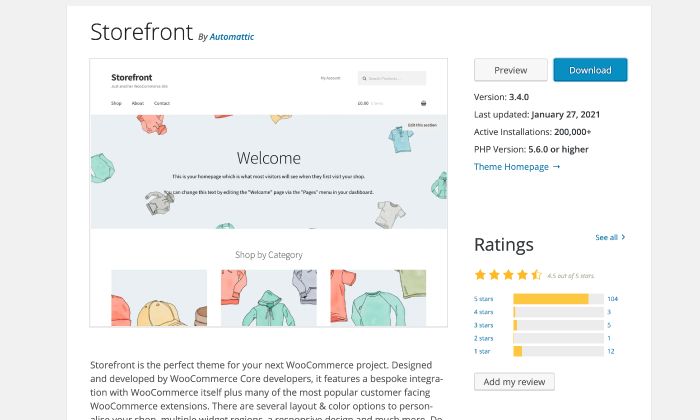
Top tip: WooCommerce also has its own theme called Storefront. Not only does it work well with the plugin (duh!), It looks pretty elegant too. You can just stick to it if you don't want any extra effort.
Step 7: extend the functionality of WooCommerce
Another impressive feat of trading is that you have hundreds of extensions and plugins available to expand the functionality. Here is a list of some extensions worth installing on your site:
- Payment gateways. With these extensions you can accept other payment methods in addition to PayPal.
- Shipping extensions. These extensions can be useful if you want to integrate your business with the official shipping costs from companies like FedEx and UPS without any additional effort.
- WooCommerce subscription. With these extensions, customers can subscribe to your product or service for a set fee.
- TaxJar. With this extension, your sales tax will be charged on the autopilot.
- Accounting extensions. These extensions integrate your online shop into an accounting tool of your choice.
- WooCommerce bookings. With these enhancements, customers can book appointments for services directly from your site.
In addition, you can also install other WordPress plugins such as Yoast SEO, UpdraftPlus, Contact Form 7 and MonsterInsights. You can also search for the best WordPress plugins in my comprehensive guide to learn more and choose the ones you need the most.
Conclusion
Congratulations! You now have an ecommerce website using WordPress.
You may have realized that creating your own personal ecommerce store with WordPress isn't difficult. All you need is the right instructions. Hope my guide will help you kickstart your ecommerce business and get the money rolling.
Keep updating your online store by adding engaging content that will be converted. Don't forget to optimize your product descriptions in order to also achieve a higher organic rank.
In the end, it's a whole process. So you need to get every step right to reap the rewards.
Have you already started your ecommerce journey? Tell me more about your experience.

See How my agency can drive Firmly Amounts of traffic on your website
- SEO – Unlock tons of SEO traffic. See real results.
- Content Marketing – Our team creates epic content that is shared, links accessed and visitors drawn.
- Paid media – effective paid strategies with a clear ROI.
Book a call