Easy methods to host an internet site
Disclosure: This content is endorsed by the reader. So if you click on some of our links we may receive a commission.
Unless you have your own server, you'll need to go through a web host to bring your website online.
Imagine renting space on a server to store your website files. Instead of buying and maintaining a server yourself, your host takes care of all the backend tasks.
If you don't have a domain name yet, you will need one too. This is how people find your website.
The whole process may be unknown to you, but it's not difficult. Trust me. Thousands of people with no computer programming experience start new websites every day
All you need is the right guide. So let's start.
Regardless of the type of website you want to build, my step-by-step tutorial will make it easy to host it.
Your 2 minute cheat sheet
This section is your shortcut to success. I will briefly explain everything you need to know.
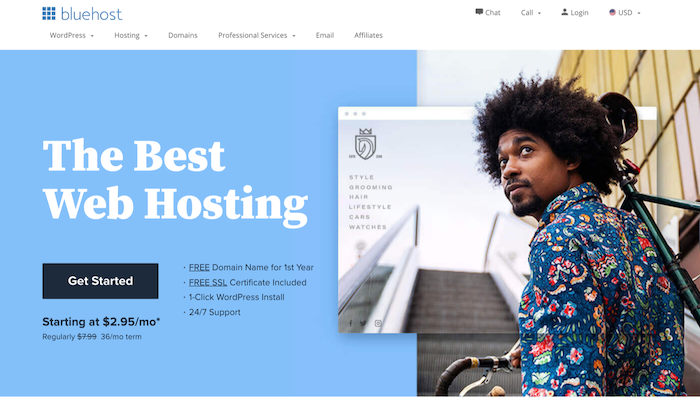
First, look for a good web hosting provider. I recommend Dreamhost, Hostinger, and Bluehost as I found them reliable and quick. Not to mention the excellent customer service that they also offer!
Do you want more options? Do not worry. There are several other alternatives that you can try. Visit our best web hosting service guide to find the right solution for you.
Next, you need to work on registering an available domain name.
Here you have two options: either buy a domain name from the same hosting service or one from a third party – your call.
Then select the desired hosting type and a suitable hosting plan. From cloud hosting to dedicated hosting to shared hosting, choosing is tough, but not when you know what you want.
For example, if you are on a tight budget, shared hosting is more convenient. However, if you are a large company with heavy traffic on a daily basis, dedicated hosting is better.
All you need to do is change your DNS address and upload your website.
Congratulations! You have now set up a live website.
That was the essence. Now let's examine these steps in more detail. You can always skip ahead if you have already taken care of the first steps.
- Find a good web hosting provider
- Register a domain name
- Select the type of web hosting you want
- Choose a good hosting plan
- Change your DNS address
Step 1: Find a Good Web Hosting Provider
What Would You Do If You Want To Buy A Home? How are you dealing with the situation?
You wouldn't just buy the first property you see if you drove down the street.
No, you would do a thorough research.
You would contact different real estate agents, examine all types of properties, find out what fits your budget, and find out everything you should know in order to make the right decision.
The same logic applies to web hosting.
Let me make one thing clear: no web hosting provider is the same. Some are better than others.
How do you know which one is best for you?
If you turn to google and just want to type in "best web host," you'll only get more confused than before.
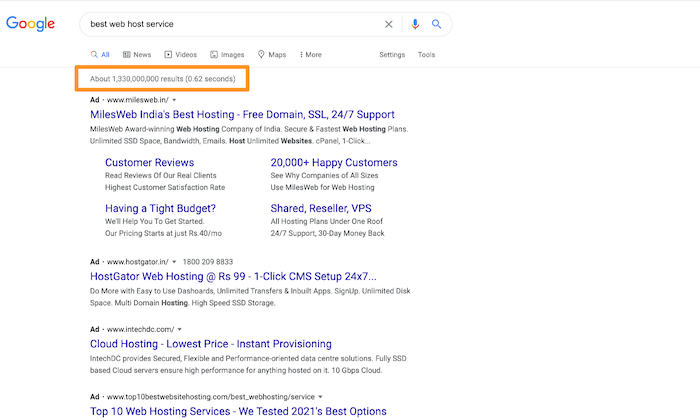
There are tons – 1,330,000,000 to be precise – articles on the Internet. And what makes it worse is that not all are giving the right advice.
You need to know the correct research process and get rid of any inappropriate options as soon as possible. As someone who has been in this industry for decades, I have compiled a list of the best web hosting providers in my experience.
While you can check out my methodology in this guide, here are some of my top tips:
There are many others. Take a look at all of the options, along with their features and prices, to determine the right solution for you.
Step 2: Register a domain name
Remember when I mentioned that a domain name pointed the server to the location of your website files on the internet?
Simply put, your domain name is your digital address.
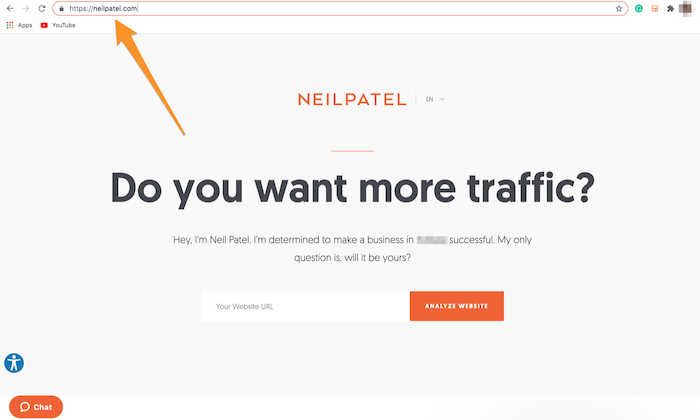
My domain name is neilpatel.com. I use my name because it is a huge part of my brand.
You can set your domain name as you like, as long as it is available for registration.
Make a short list of ideas that you like. A lot of domain names are used, so you may need to get a little creative.
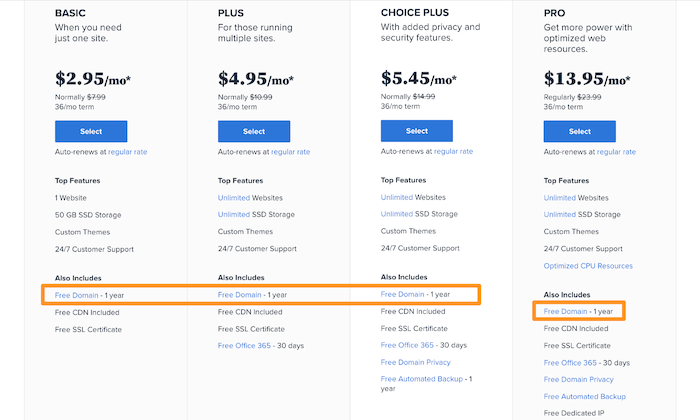
The good news is that you can get a domain yourself from your web host provider. For example, Bluehost offers free domains to its users who sign up for its subscriptions.
Some providers give you a domain for a small additional charge.
Would you like more options? Great because I still have one.
You can buy a domain name from a third party who is not your web host provider.
There are some hosting providers that don't sell domain names because they specialize only in hosting products. In these cases, you will need to purchase a domain before you can use the hosting service.
Here's my take on it: it's better to buy hosting and domain names together. It's easier, more hassle-free, and less time-consuming.
However, if you buy a domain name and hosting service separately, additional steps are required. You need to set the name servers on the domain registrar's website to point to the address given by your web host.
It is best to contact your registrar for further instructions as these vary from location to location.
Once you have your domain name set up, you can proceed to get your website live on the web.
Step 3: Choose the type of web hosting you want
We discussed web host providers and domain names. The next step on the list should be to determine what type of hosting you think would be best for your website.
I'll briefly cover these types of hosting to give you a basic idea of what to expect from each one.
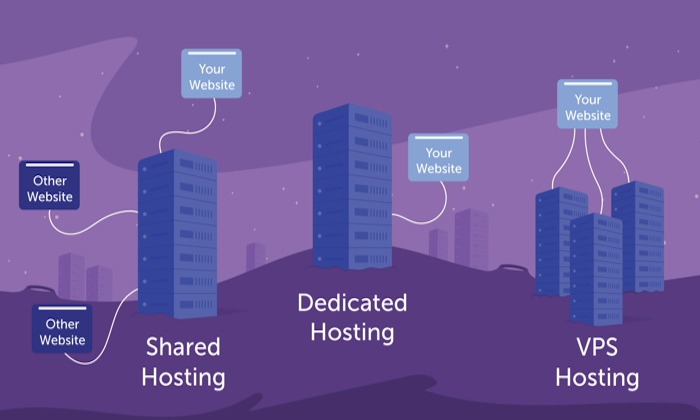
There are four main options:
- Shared hosting
- VPS hosting
- Dedicated hosting
- Cloud hosting
Shared hosting
This hosting option works best for small businesses, small websites, and personal blogs. In other words, people who are just starting out.
It allows multiple websites to share the same server resources, which makes it more affordable. It also means that you may struggle with slow loading times.
I would recommend shared hosting if you are on a budget, don't have a lot of technical knowledge, and don't expect high traffic volumes.
My guide to the best shared hosting companies can help you find the right one, if that option sounds good to you.
VPS hosting
VPS stands for Virtual Private Service. In a way, it's a type of shared hosting. The only difference is that you get access to flexible resources that make it easier to deal with large spikes in traffic.
Think of VPS hosting as the more advanced version of shared hosting.
With this type of hosting, you will get better site performance if you have your own “virtual” server that contains your dedicated resources. Expect more bandwidth, storage space, longer uptime, and faster loading speeds.
Basically, you have more control over your server settings.
I would recommend this option if you are expecting higher traffic and therefore need additional resources to accommodate these visitors.
Dedicated hosting
As the name suggests, with dedicated hosting you get the entire server – one that's entirely dedicated to your website.
You can use all server resources and advanced tools to better manage your server and install your own software and operating system.
Note that you will need some technical knowledge for this type of hosting.
I think dedicated hosting is a better option for larger websites that want high performance to handle higher traffic without sacrificing loading speed.
It's also better suited for those who are tech savvy and can afford to pay the higher price.
Cloud hosting
Even hosting plans have to accommodate the changing times which is why we now have a cloud web hosting option.
Cloud web hosting is done between shared hosting and VPS. While you get better services than a shared service, it's also cheaper than a VPS plan.
When this happens, your site will run on multiple cloud servers, reducing the chance of unexpected downtime due to server problems or traffic jams.
This type of hosting is ideal for growing websites that need to scale server resources as they get bigger. If you expect your website to have more than 50,000 monthly visitors, I recommend that you choose a cloud plan.
Step 4: choose a good hosting plan
Now that you know the type of hosting you want, you need to look for viable hosting plans that offer solutions at a price that suits your budget.
I am assuming that you already have a budget in mind and that you will immediately start discussing factors to consider when reviewing hosting plans.
Operating time
Probably the most important characteristic to consider is availability.
I'll get right to the point: if your hosting provider doesn't offer at least 99.9% uptime, go ahead.
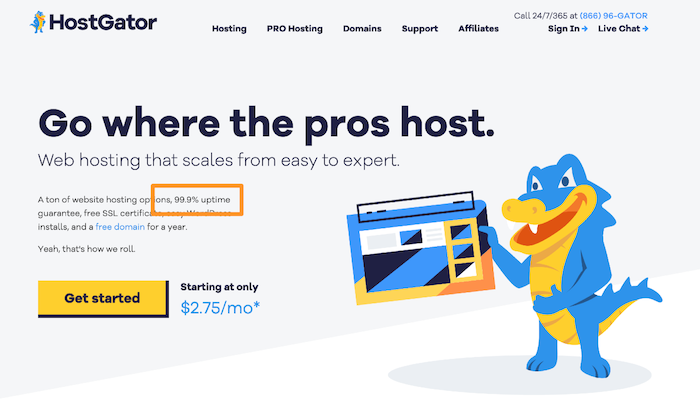
Additionally, you can find numerous web hosts in their plans that offer an uptime guarantee. This means that if they fail to keep the promise, they will compensate you.
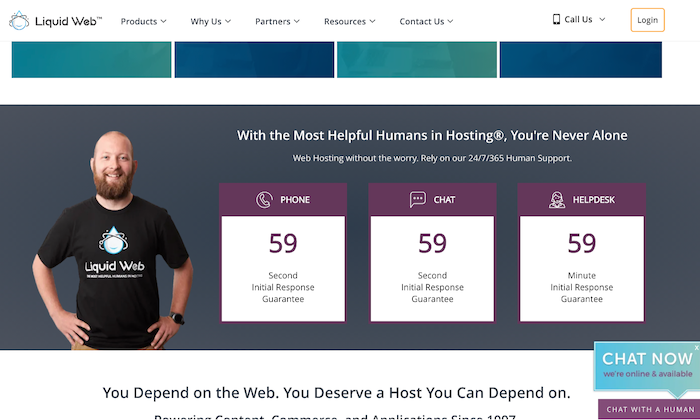
Customer service
Not many people consider the level of customer support offered by a web hosting provider to be a mistake.
Thinking that nothing is going to go wrong with your website or server is just wishful thinking. During these difficult times, you should get help right away. Try looking for plans that offer 24/7 support via live chat, phone, or email.
Another tip would be to look for web host providers that have a knowledge base and resource center. This is a great way to teach yourself how to perform certain tasks on their platform.
resources
Look for plans that have enough resources to accommodate your website's content and traffic.
The very first thing you should do is take a look at RAM memory. I would have at least 4GB of RAM. Next, consider the bandwidth. Again, 120 GB of bandwidth is enough for 2,000 daily page loads on a 4 GB website.
Talk to your provider to better understand the resources you need based on your needs.
Additional functions
Your main goal should be to get a web hosting plan that will give you the best value for money. The best way to maximize value is to get freebies, add-ons, and other additional features.
Here are a few things to keep in mind:
- Free site migration
- Free SSL Certificate
- Free cPanel license
- Free site builder
- Unlimited email accounts
- Automatic backups
- Credit for Google Ads
- Bing ad credits
While the above features are optional, I recommend that you only opt for plans that come with a money-back guarantee. 30 days is the industry standard, but you can also find plans with a 60-day or 90-day guarantee.
Step 5: change your DNS address
After purchasing your web hosting, you will receive name servers, also known as Domain Name Servers (DNS). This is the Internet equivalent of a phone book that contains IP addresses.
You need to change your domain name servers. This is how it works:
- Go to yours Domain control.
- Enter your registered email address and password that you used when you signed up with the web host provider.
- Click the domain name for which you want to change the name servers.
- By doing Domain registration Click on the section Name server Option and replace the existing name servers with those provided by your current web host.
The steps are slightly different when you register your domain with a third party.
In this case, you will need to log into the Control Panel and update the domain names to those provided by your web host.
That's it! All you have to do is upload your website to your account and your website will go live.
Conclusion
Hosting a website doesn't have to be too complicated.
You first need to find the right web host provider and choose your hosting type and plan. Then just prepare for a live website!
For the domain name, you can either choose a web host provider that offers a free domain or sign up with a third party – the choice is yours!
Which web host provider is your favorite and has given you the best results?

See How my agency can drive Firmly Amounts of traffic on your website
- SEO – Unlock tons of SEO traffic. See real results.
- Content Marketing – Our team creates epic content that is shared, links accessed and visitors drawn.
- Paid media – effective paid strategies with a clear ROI.
Book a call